
TensorFlow and Keras
TensorFlow and Keras are powerful tools in the field of deep learning. TensorFlow, an open-source machine learning library developed by Google, provides a comprehensive platform for building and deploying machine learning models. It facilitates the creation of complex neural network architectures and supports both training and inference across various devices.
Keras, on the other hand, is a high-level neural networks API that runs on top of TensorFlow. It simplifies the process of building and experimenting with neural networks, making it user-friendly and accessible. Keras provides a modular and extensible interface, allowing developers to quickly prototype and experiment with different architectures.
Together, TensorFlow and Keras form a robust ecosystem for deep learning, enabling practitioners to seamlessly transition from model development to deployment while benefiting from a rich set of features, extensive documentation, and a vibrant community.
Installing TensorFlow
To install TensorFlow, you can use either conda or pip. Here are the commands for both:
Using conda:
conda install tensorflow -y
Using pip:
pip install tensorflow
There is no need to install Keras seperately because it comes preinstalled with TensorFlow.
Loading images
As usual, we first need some imports. We know already numpy and matplotlib but now we also import tensorflow and keras. From Keras we also import a special function for loading images called load_img.
import numpy as np
import matplotlib.pyplot as plt

%matplotlib inline

import tensorflow as tf
from tensorflow import keras
from tensorflow.keras.preprocessing.image import load_img
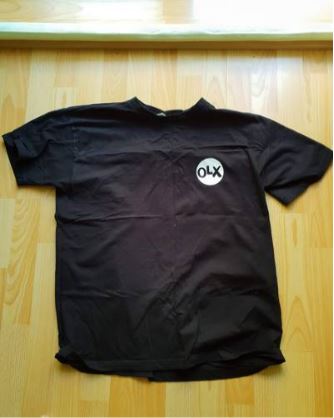
Let’s see this function in action. We take one special image from the training dataset.
path = './clothing-dataset-small/train/t-shirt'
name = '5f0a3fa0-6a3d-4b68-b213-72766a643de7.jpg'
fullname = f'{path}/{name}'
load_img(fullname)
When loading an image, you can specify the size. The reason we need to do this is that a neural network expects an image of a certain size, usually 299×299, 224×224, or 150×150. If the original size of our image is larger, we need to resize it to one of the mentioned formats. Resizing is quite easy; you only need to use the target_size parameter. Here’s an example:
img = load_img(fullname, target_size=(299, 299))
Make sure to adjust the target_size parameter based on the input size expected by your neural network model.
PIL and Pillow
The library for processing images is called PIL (Python Imaging Library), and it’s used by many image processing libraries. PIL is developed by Fredrik Lundh and contributors. There is also Pillow, which is a fork of PIL by Jeffrey A. Clark (Alex) and contributors. You can find the documentation here.
print(img)

# Output: <PIL.Image.Image image mode=RGB size=299x299 at 0x7F8593FA2E20>
The way an image is represented internally is with three channels, and for each channel, we have an array. These arrays contain numbers between 0 and 255. Each pixel is a combination of the three values for the red, green, and blue channels. The shape of that image should be (299, 299, 3) with (height, width, #channels). We can easily translate this Pillow image into a numpy array.
x = np.array(img)
x

# Output:
# array([[[179, 171,  99],
#         [179, 171,  99],
#         [181, 173, 101],
#         ...,
#         [251, 253, 248],
#         [251, 253, 248],
#         [251, 254, 247]],
#
#        [[188, 179, 112],
#         [187, 178, 111],
#         [186, 177, 108],
#         ...,
#         [251, 252, 247],
#         [251, 252, 247],
#         [251, 252, 246]],
#
#        [[199, 189, 127],
#         [200, 190, 128],
#         [200, 191, 126],
#         ...,
#         [250, 251, 245],
#         [250, 251, 245],
#         [250, 251, 245]],
#
#        ...,
# ...
#         [171, 157,  82],
#         ...,
#         [181, 133,  22],
#         [179, 131,  20],
#         [182, 134,  23]]], dtype=uint8)
The dtype of this array is uint8, where “u” means unsigned, so it doesn’t have any sign, ranging from 0 to 255. The “8” signifies that it’s an integer taking 8 bits (=1 byte).
x.shape

# Output: (299, 299, 3)
